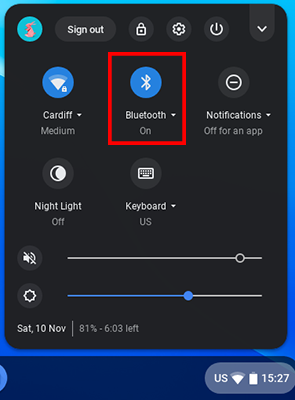
1) Check that Bluetooth is switched on. |
 |
2) Click on the Jimu App and then choose the Coding option. |
| |
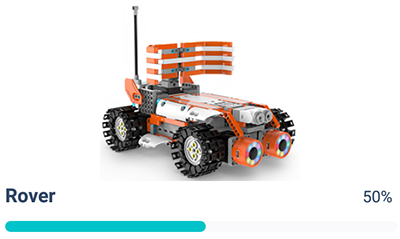
3) If you haven't used it before click on the Rover option |
 |
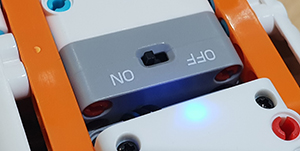
4) Switch on the Rover |
 |
 |
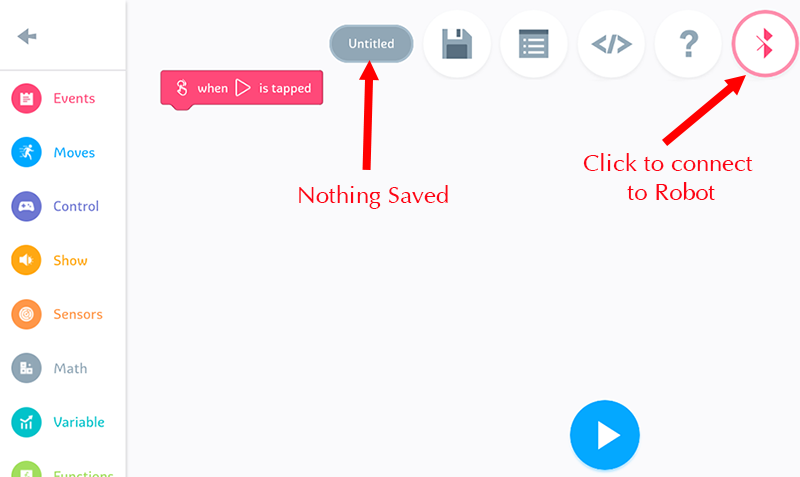
5) You should now be in the coding screen. You need to click on the Red Connection button to connect to your Robot |
 |
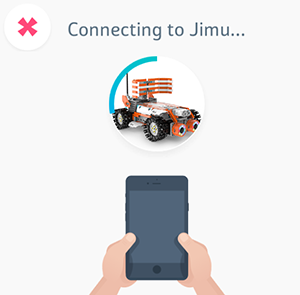
6) You might need to click on the Jimu name to start connecting or it might just start.
The example Robot is called Jimu_36C3 but yours will have a different name. |
 |
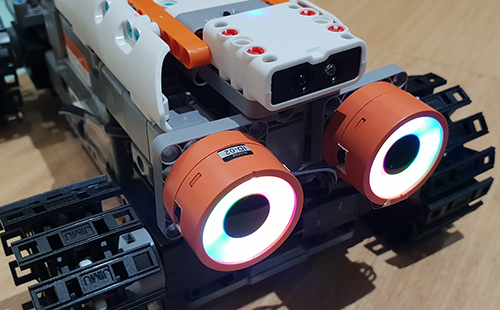
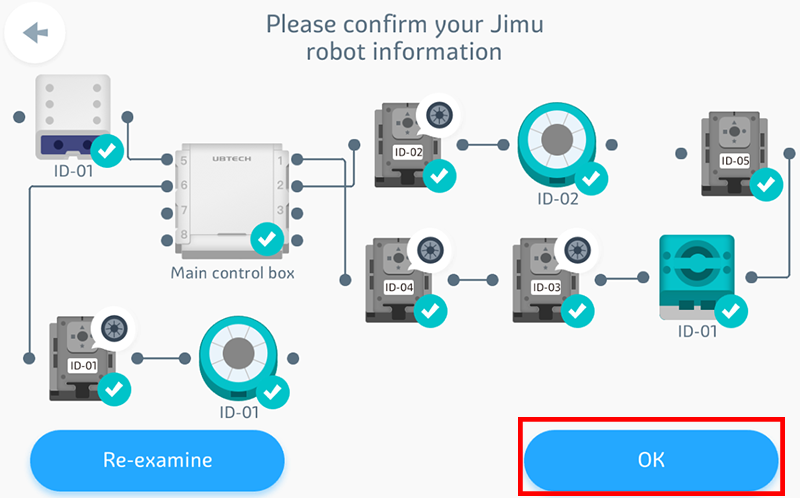
7) The Robot should connect and then indicate that all motors and sensors are working okay (green ticks). The speaker (ID-01) often doesn't connect straight away and you need to do it manually in the Chromebook Bluetooth settings (see next image). |
 |
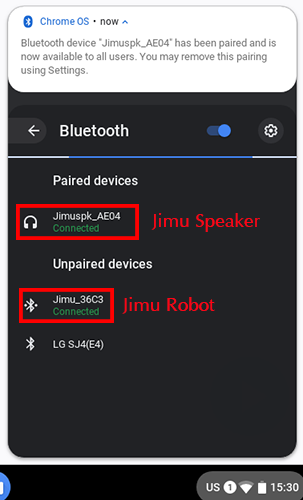
8) If you check in Bluetooth settings on your Chromebook you should see the name of your connected Robot.
You might need to manually connect the speaker
(in this example it is called Jimuspk_AE04) |
 |
9) You can start to organise your code by dragging Blocks from the left panel into the coding window.
You can edit Blocks by clicking on them. |
 |
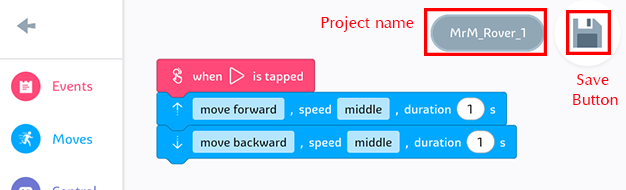
10) Change the name of the project and save it using the icons indicated. |
 |
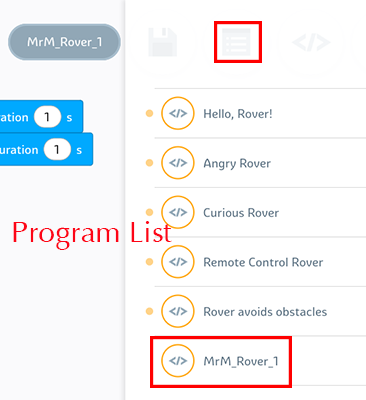
11) Saved programs can be viewed by clicking on the list icon |
 |
