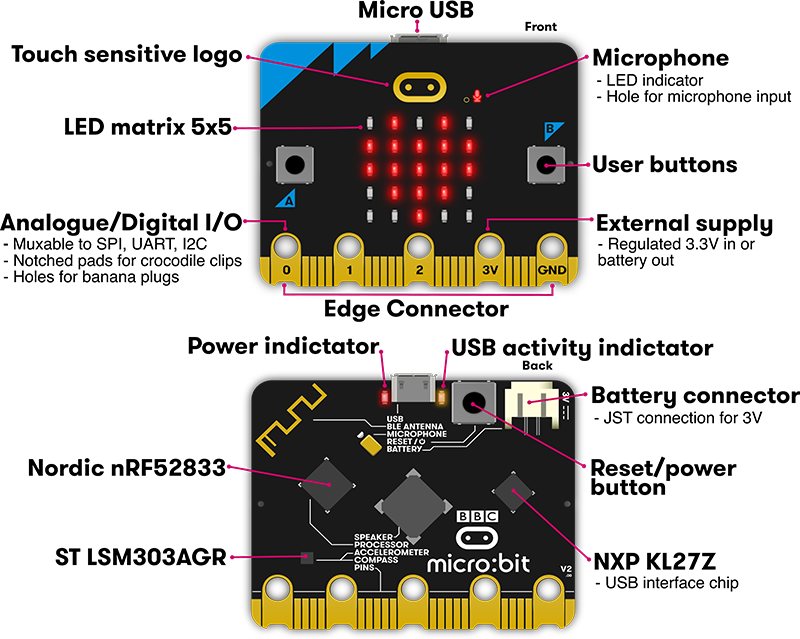
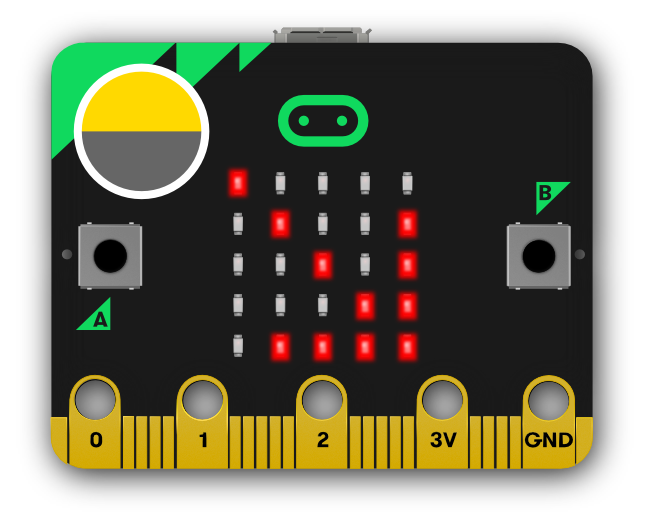
LEDs
What is it? LED stands for Light Emitting Diode. The micro:bit has 25 individually-programmable LEDs, allowing you to display text, numbers, and images.

|
Buttons
What is it? There are two buttons on the front of the micro:bit (labelled A and B). You can detect when these buttons are pressed, allowing you to trigger code on the device.

|
Light Sensor
What is it? By reversing the LEDs of the screen to become an input, the LED screen works as a basic light sensor, allowing you to detect ambient light.
|
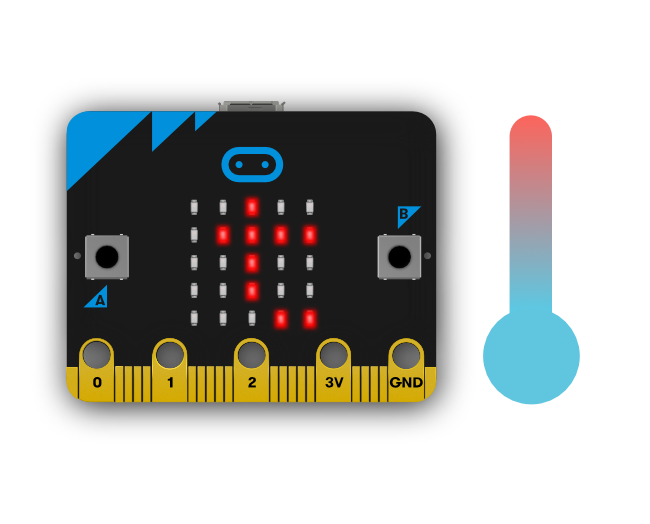
Temperature Sensor
What is it? This sensor allows the micro:bit to detect the current temperature of the device, in Farenheit and Celsius.
|
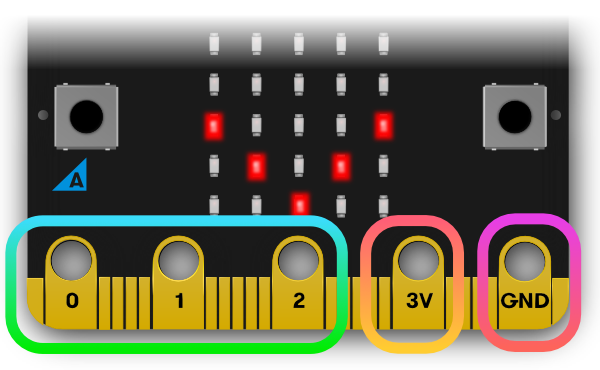
Pins
What is it? There are 25 external connectors on the edge connector of the micro:bit, which we refer to as 'pins'. Program motors, LEDs, or other electrical components with the pins, or connect extra sensors to control your code!
There are five large pins, that are also connected to holes in the board labelled: 0, 1, 2, 3V, and GND. And along the same edge, there are 20 small pins that you can use when plugging the BBC micro:bit into an edge connector.
|
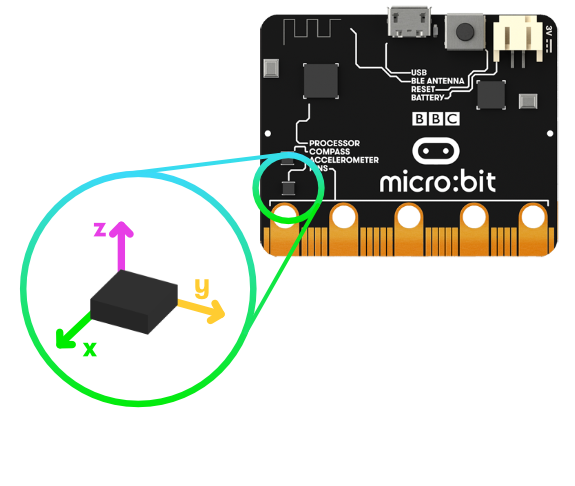
Accelerometer
What is it? An accelerometer measures the acceleration of your micro:bit; this component senses when the micro:bit is moved. It can also detect other actions, e.g. shake, tilt, and free-fall.
|
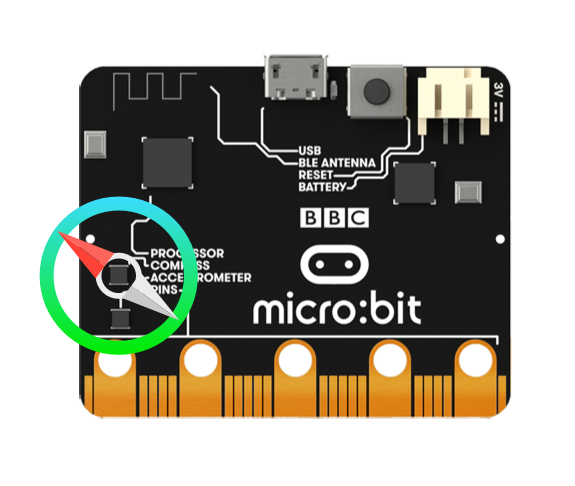
Compass
What is it? The compass detects the earth's magnetic field, allowing you to detect which direction the micro:bit is facing. The compass has to be calibrated before it can be used.
|
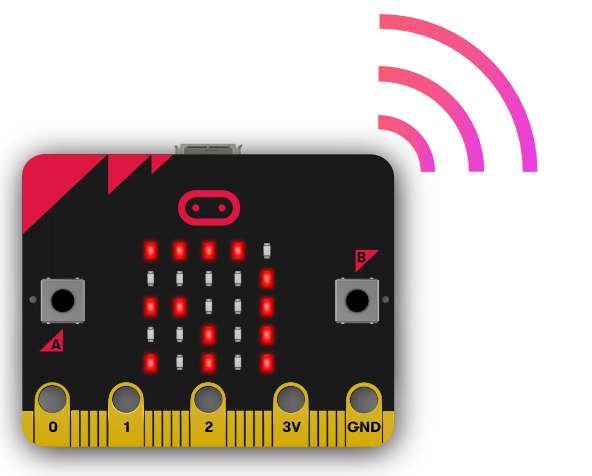
Radio
What is it? The radio feature allows you to communicate wirelessly between micro:bits. Use the radio to send messages to other micro:bits, build multiplayer games, and much more!
|